If you work in content or social media and you often have to take screenshots of other websites then you know how annoying it is when you come across a page with random obstructions. Whether its a giant banner announcing a seasonal sale, a popup window, a sidebar widget, or some awkwardly inserted Google ad – it doesn’t matter. The point is that you don’t want it there. You want a nice, clean image.
For many people who come from a non-developer background, the go-to solution is probably to use an image editor of some kind to carefully tweak the image. While this approach can work, it often takes an unnecessarily long amount of time to get it just right. There are also some AI tools nowadays that promise to do it faster, but they often give you back something that leaves a lot to be desired.
Fortunately, there’s a much faster and more efficient way to remove these undesired elements from your screenshots. It actually happens before you even tap command + shift + 4 on your keyboard. Let me show you how to do it.
Putting on your developer hat
To use this method, you’re going to pretend that you’re a web developer for a moment.
Don’t worry, it’s not as intimidating as it might sound.
In reality, it’s ridiculously simple, it just requires you to use a tool that is normally used by developers for debugging problems with websites – the Inspector tool in your browser.
I’ll give you a real-life example so you can see it in action.
Removing an unwanted sale ad
Let’s say you work as a content writer in the domain registrar space and you’re doing a review of one or more domain registrars. Maybe you want to include a screenshot of the homepage or the main landing page of each company.
The issue is that many of these landing pages are often very busy and have lots of elements on them – including elements that you might not want in your screenshot.
Take the Dynadot website for instance. As of right now, it has this giant advertisement about their special sale on .com domains:
That’s nice and all, but as someone who doesn’t work for Dynadot, you have no idea how long that sale is going to last.
And no, them writing “while supplies last” doesn’t help.
So the ideal move here is to simply get rid of it. Here’s how:
Access the Inspector tool and find the unwanted element
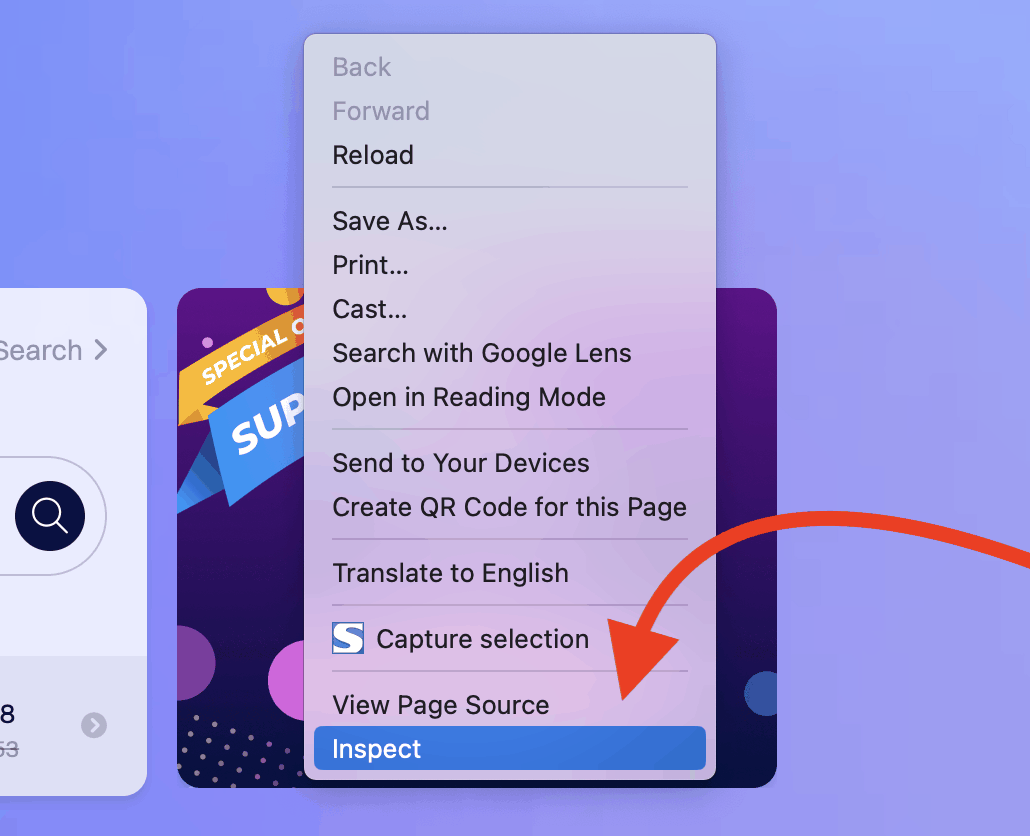
If you’re using Chrome, right click (or double-finger click) on your screen and then scroll down until you see Inspect:

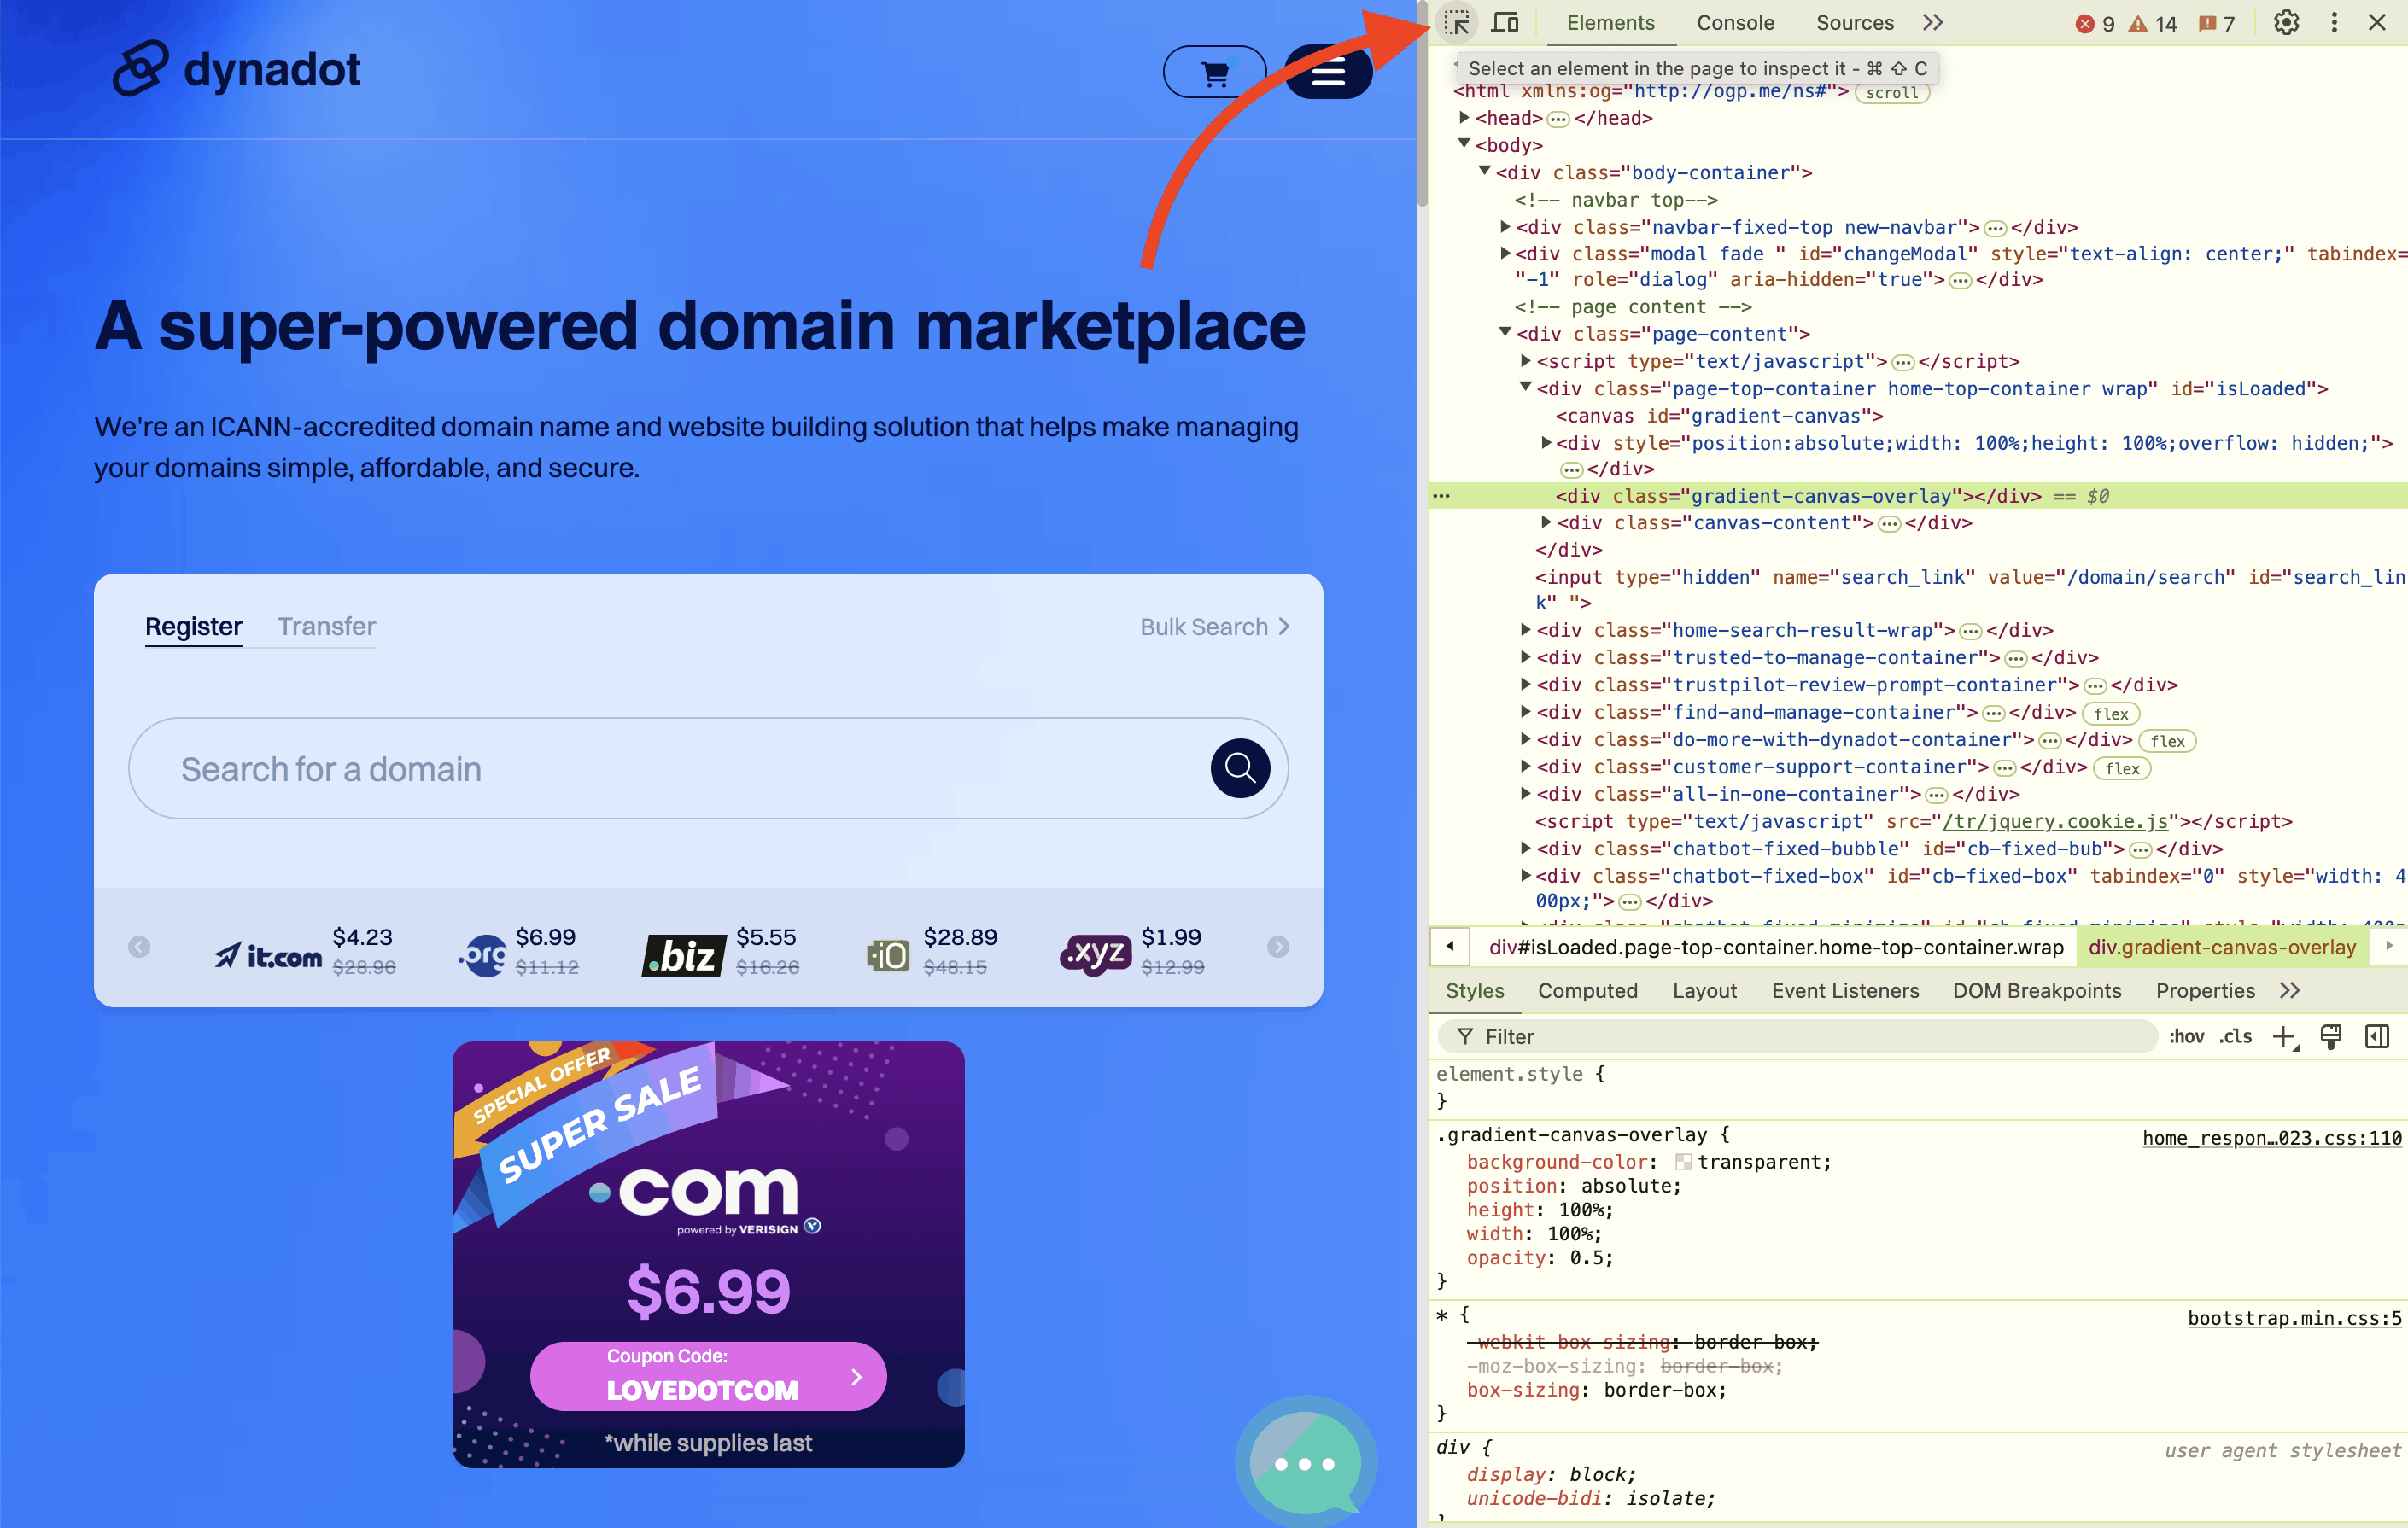
Once the Inspector tool opens up, find the little icon that looks like a small box made of dotted lines with an arrow inside of it.

Depending on the default settings you have, your exact screen might look different from what you see above. In other words, you might see a mobile preview, a tablet preview, or a desktop preview.
It’s honestly not relevant to the process. But if you want to adjust the screen size of either window (the preview or the Inspector tool), you can always drag it left or right by hovering your mouse over the dividing line. Then just click and hold while moving your mouse in either direction.
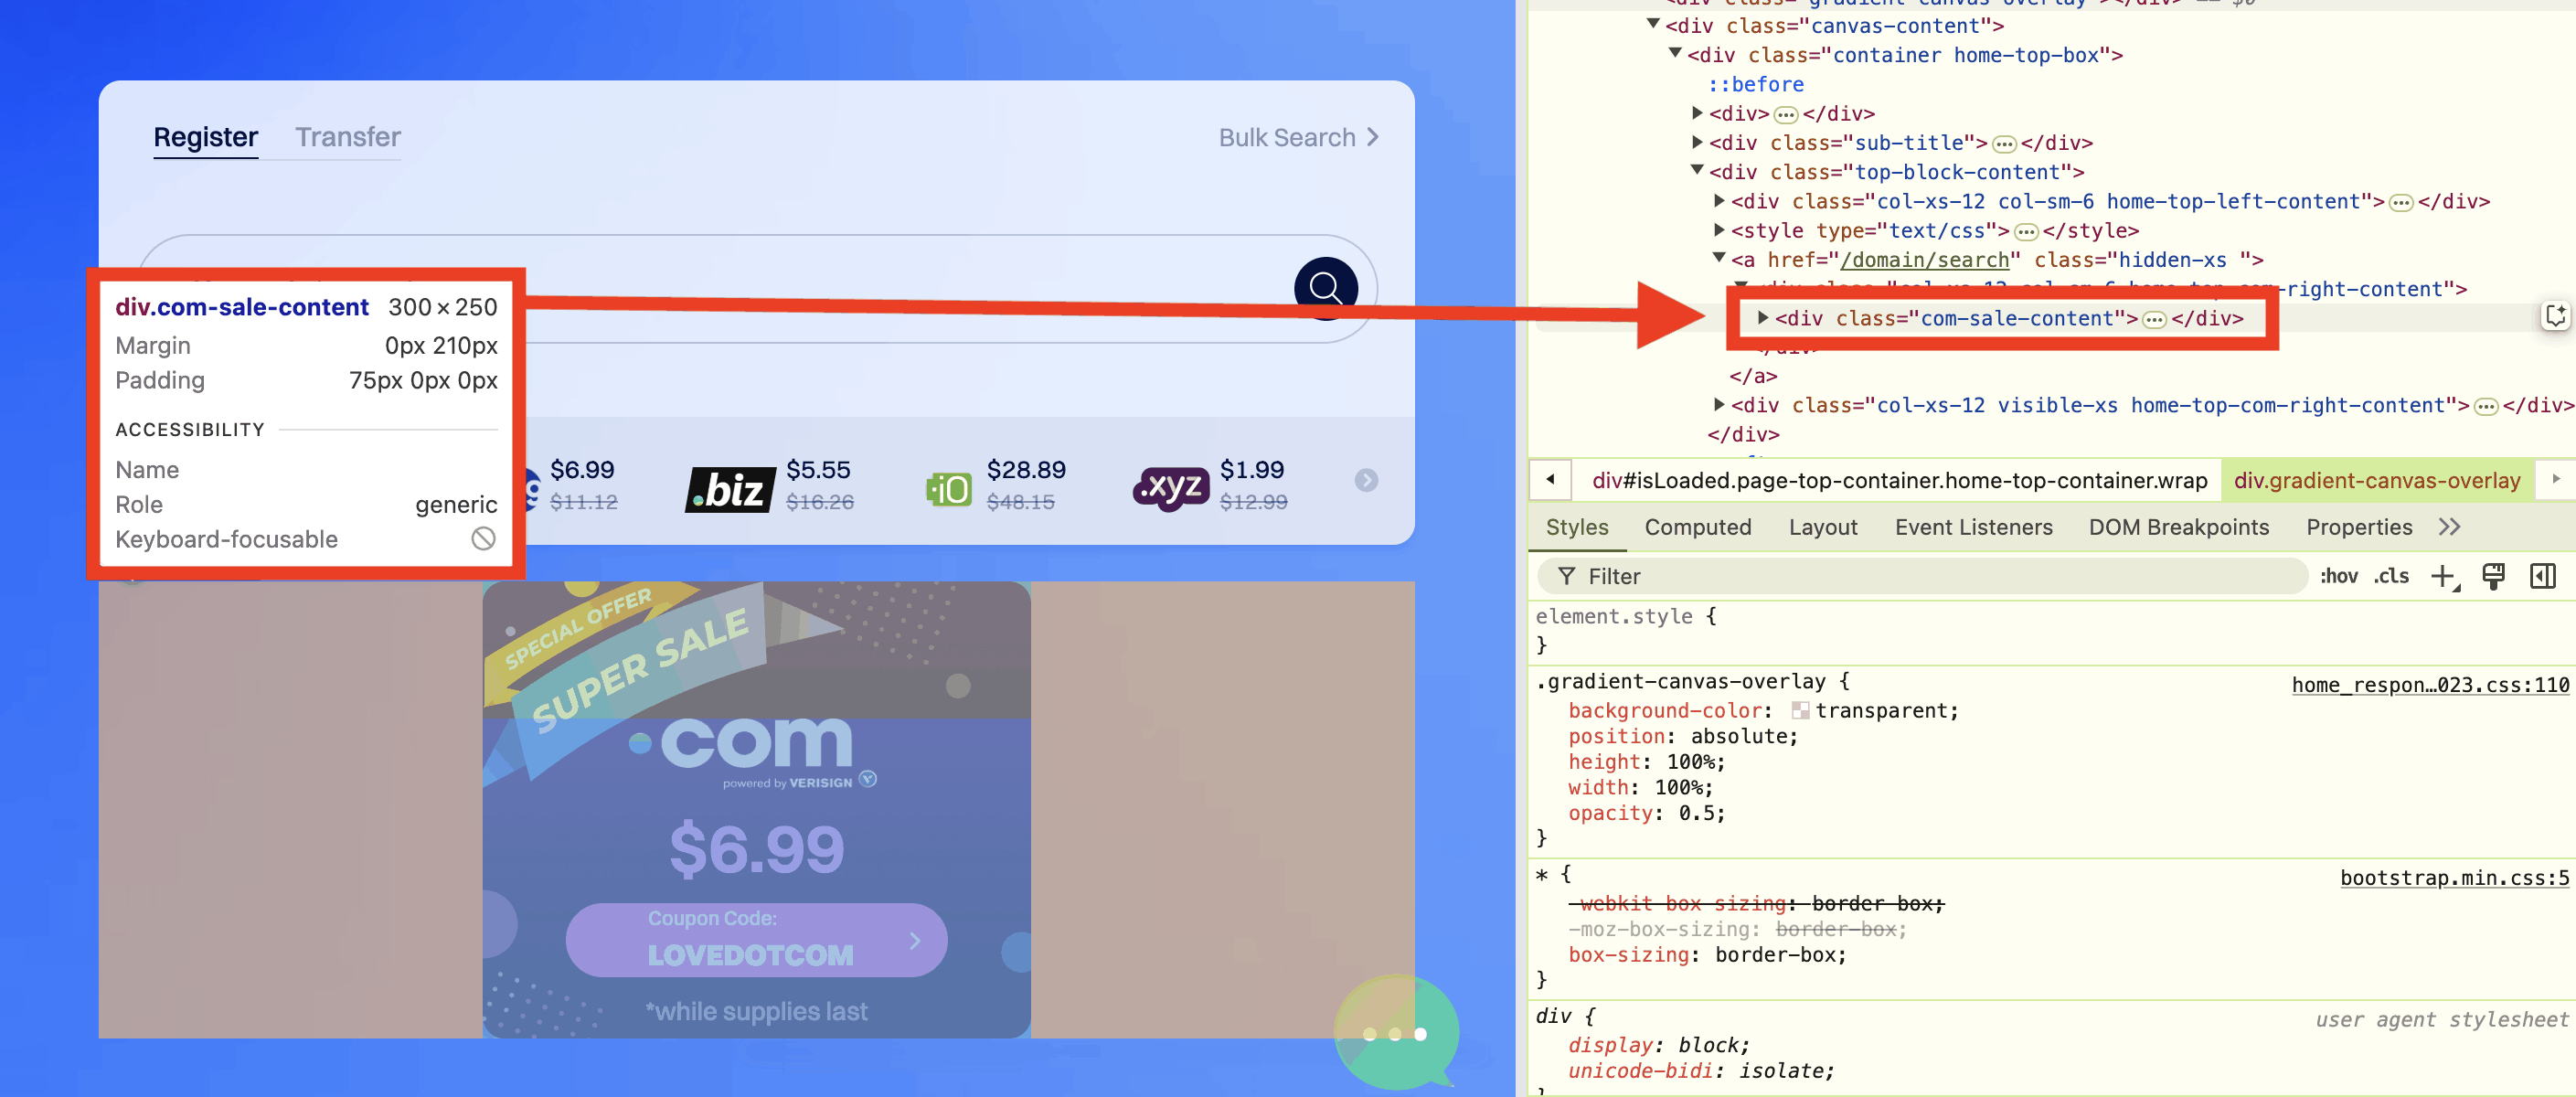
As you can see in the screenshot below, clicking that icon will turn your mouse into a temporary tool that will let you select whatever elements you want to remove from the screen. In our example, if we hover over the sale ad, we can see that the ad corresponds to the following element: div.com-sale-content.
It also shows up with a gentle highlight in the code on the right:

Remove the unwanted element
Once you’ve isolated the element you want to remove, simply tap delete on your keyboard and it will disappear.
Seriously – it’s that easy.
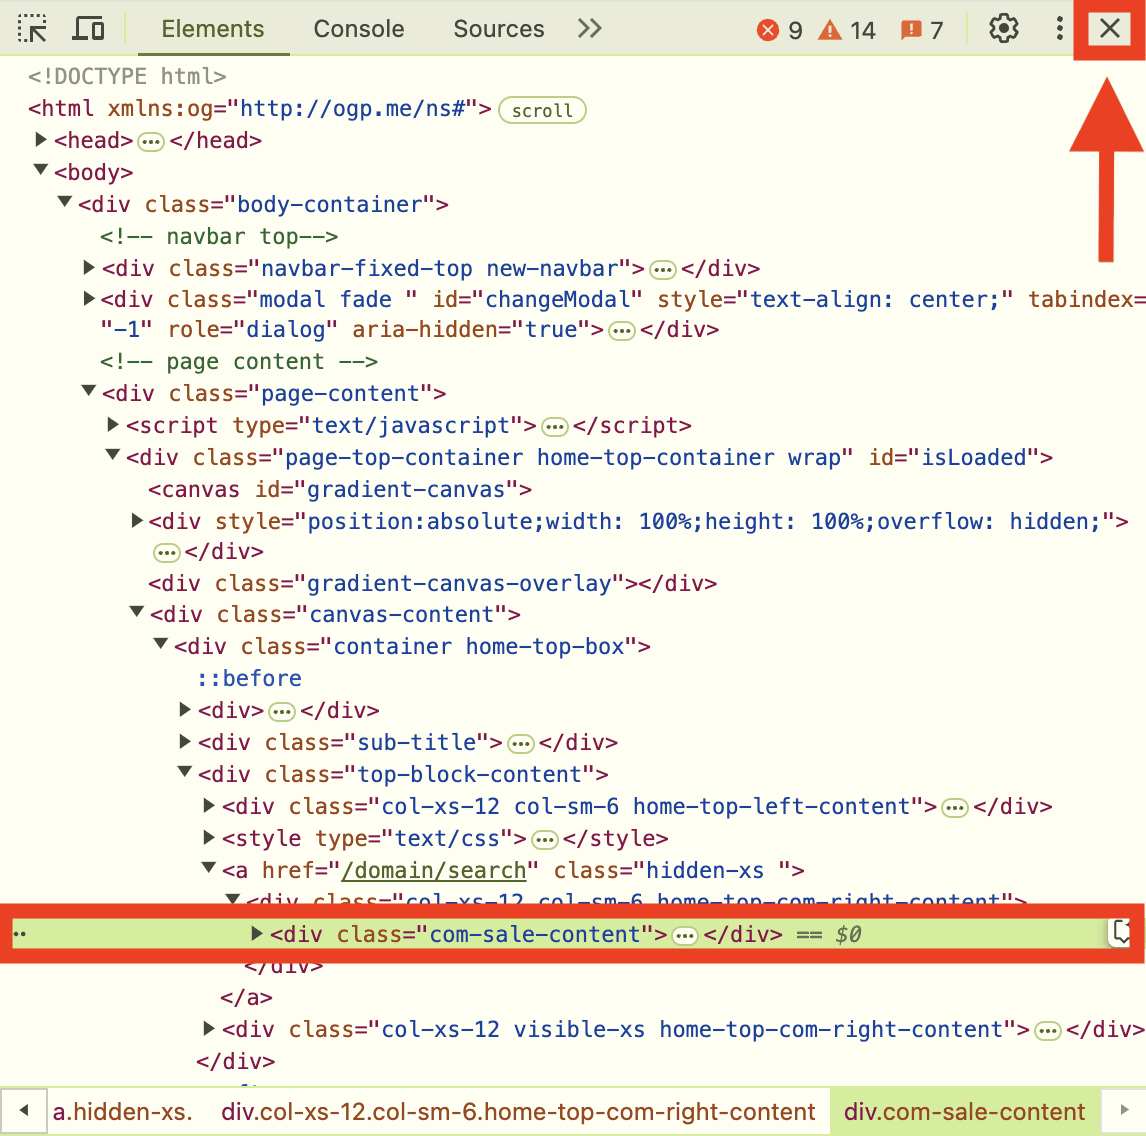
Then just click the X on the top right, which will close out the Inspector:

This will bring you back to your original page, but with the undesired section gone from the screen:

The entire process takes only a few seconds and you can do it for most elements.
Restore the element
If, for whatever reason, you change your mind and want to restore the element back to the page – or you accidentally remove something you didn’t intend to – all you need to do is refresh the page in your browser and it’ll return right back to where it was.
It’s because this process doesn’t actually remove anything from the website itself. 😲
It’s more like an optical illusion.
What you see when you do this, is essentially a preview of what the webpage would look like if you did remove it.
So when you refresh the page, it just loads the normal version of the site and undoes the preview you’ve created.
Does this method always work?
If you’re curious like me, then you might be wondering if this works 100% of the time.
Unfortunately, the answer is no.
It does, however, work most of the time. It’s rare that you’ll come across a situation where you’ll have to spend more than a few seconds on it or where the code is more complicated and a section might not be easily isolated. The most common roadblock you’ll encounter when you do hit an issue, is that you’ll be forced to remove a larger chunk of the content than only the part you want to remove.
In a worst case scenario, you’ll need to resort to image editing, but as I said, that doesn’t happen often.
And that’s it!
I hope this will help you speed up your workflow.
Do you have any questions? Was this helpful? Let me know in the comments.
…
Don’t forget to join our crash course on speeding up your WordPress site. Learn more below:
Or start the conversation in our Facebook group for WordPress professionals. Find answers, share tips, and get help from other WordPress experts. Join now (it’s free)!


