- The next step is to insert another Custom HTML block into your post. Add it directly above the existing block and paste in the following CSS code:
<style>
#contact-form {
  max-width: 600px;
  margin: 0 auto;
}

.form-group {
  margin-bottom: 20px;
}

label {
  display: block;
  margin-bottom: 5px;
  font-weight: bold;
}

input, textarea {
  width: 100%;
  padding: 10px;
  border: 1px solid #ddd;
  border-radius: 4px;
}

button {
  background-color: #0066cc;
  color: white;
  border: none;
  padding: 10px 20px;
  border-radius: 4px;
  cursor: pointer;
}

button:hover {
  background-color: #0052a3;
}
style>Code language: HTML, XML (xml)
The CSS will give your form an aesthetic look. If your site has a certain color scheme, you can also tweak the code to make it match.
Even if you don’t come from a coding background, CSS is fairly intuitive so this isn’t too difficult to do. For example, if you wanted to adjust the color of the button, you’d modify this part of the code:
button {
  background-color: #0066cc;
  color: white;
  border: none;
  padding: 10px 20px;
  border-radius: 4px;
  cursor: pointer;
}Code language: CSS (css)
If you’re not sure which specific colors your website is using, you can do the following:
- Screenshot some part of your site that contains the colors you’d like to replicate for the form.
- Upload that screenshot to a free tool like image color picker and it’ll identify the six digit hex codes (e.g.,
#0066ccin the current version of the background color field) of the colors for you. - Copy them and substitute them into the code to make your edits. You can replace the color with hex code in the fields that have written color words too (e.g., change
whiteto#faf0e6).
When you finish, preview what the form will look like on the frontend of your site:
If you’re satisfied, save your work!
⚠️ Recommendation: Although not required, I recommend turning on reCAPTCHA for your contact form. It helps prevent spam submissions and Formspree makes it too easy not to take advantage of it.
Just go back to the screen where you copied the form endpoint. The endpoint is on the Integration part of the menu. Tap on Settings and then scroll down until you see CAPTCHA. Toggle it on and you’re good to go.

The next step is to push your updated page/post with the form to your live site.
Deploy your page or post with the contact form added
Assuming you followed my tutorial on setting up your static site, it means you’re going to regenerate your static files using the Simply Static plugin:

Then do the following:
On Mac: On Windows:
cd ~/Desktop/website-toolsCode language: JavaScript (javascript)Once you’re inside the folder, run the script:
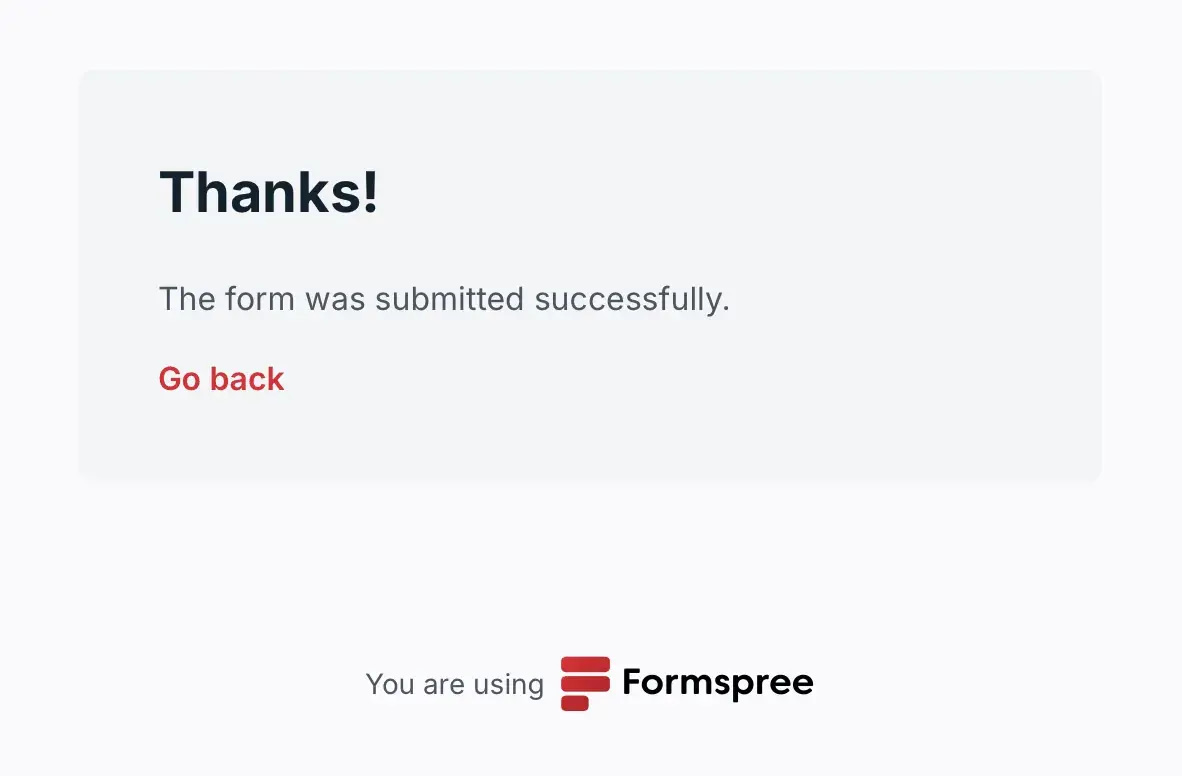
./update-website.shAfter you execute the script, wait a few minutes and check your live site to make sure the form was properly added. Then test your form to make sure it works. If everything goes smoothly, you’ll get a confirmation message:

Also check your inbox to ensure that the delivery side of things is working properly:

If everything looks good, then you’re all set!
Where there’s a will, there’s a way 💪🏻
Not being able to add contact forms to a static WordPress site by default might be frustrating at first, but thankfully there are some workarounds to get the job done. For simple blogs or small-to-medium volume businesses, using the free Formspree plan is arguably the best option for solving this common static site issue.
For more complex needs, an alternate approach is to use Cloudflare Workers combined with an email hosting provider like Zoho Mail. I didn’t cover that here because it’s significantly more intensive, but if you’re interested in it, drop a comment below and let me know. Perhaps I’ll update this tutorial or write another one that focuses on this method.
Have you implemented contact forms on your static site? Share your experience below.

